Adding New Clients
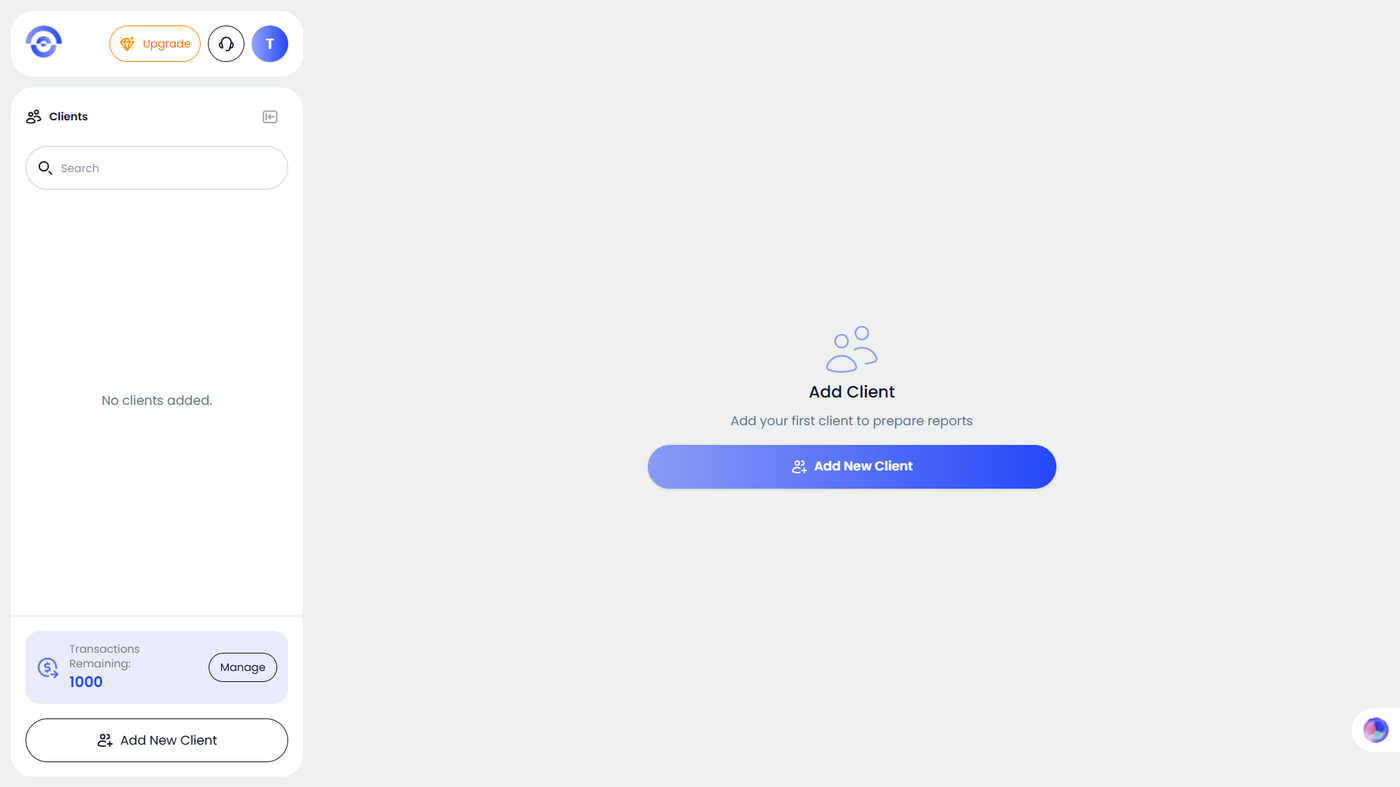
Step 1: Open the Client Dashboard
When you log in for the first time your dashboard will be empty. Click Add First Client to get started. For all future clients, click Add New Client at the bottom of the left sidebar.
Step 2: Enter Client Details
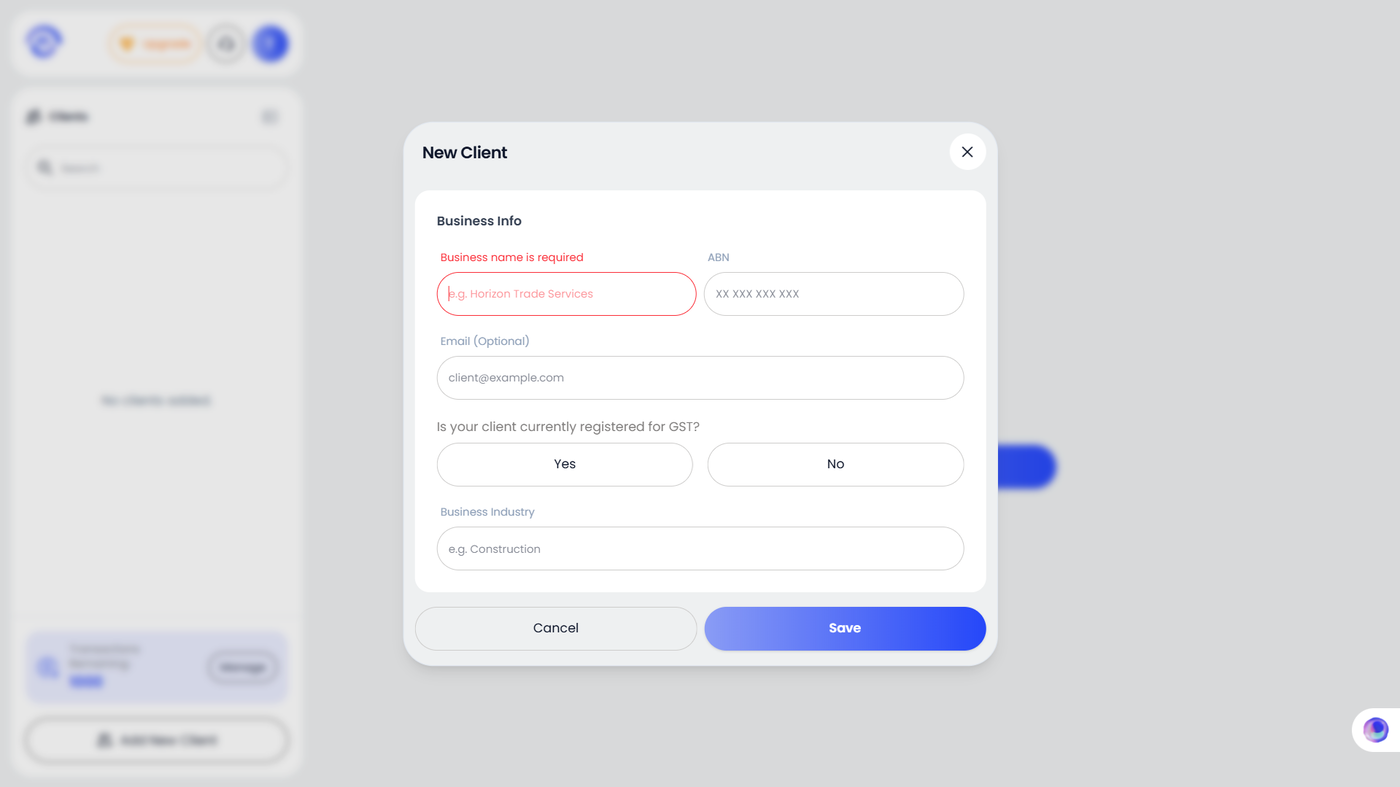
A dialogue box will open asking for the following:
Business Name — required. This appears on all reports generated for the client.
ABN — the client's Australian Business Number.
Email — optional. Used to send live bank feed connection requests.
GST Registration — select Yes or No. This determines how Ezyiah applies GST treatment during reconciliation.
Business Industry — helps Ezyiah apply the correct categorisation logic for that client's transactions.
Click Save and the client workspace is created.