Managing and Editing Your BAS Data
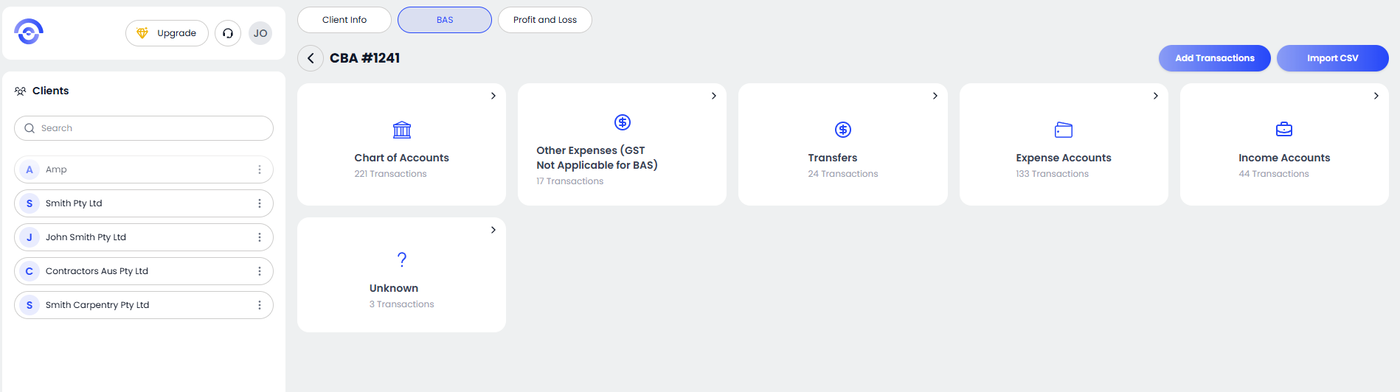
Step 1: Review the Summary of Amounts
The Summary of Amounts pane provides an instant, high-level snapshot of your reporting position. Before diving into the details, verify that the primary labels align with your expectations:
G1 (Total Sales): The gross income processed for the period.
1A & 1B (GST Totals): A clear comparison of GST collected on sales versus GST paid on expenses.
9 (Your Payment or Refund): The final calculated amount owed to or by the ATO.
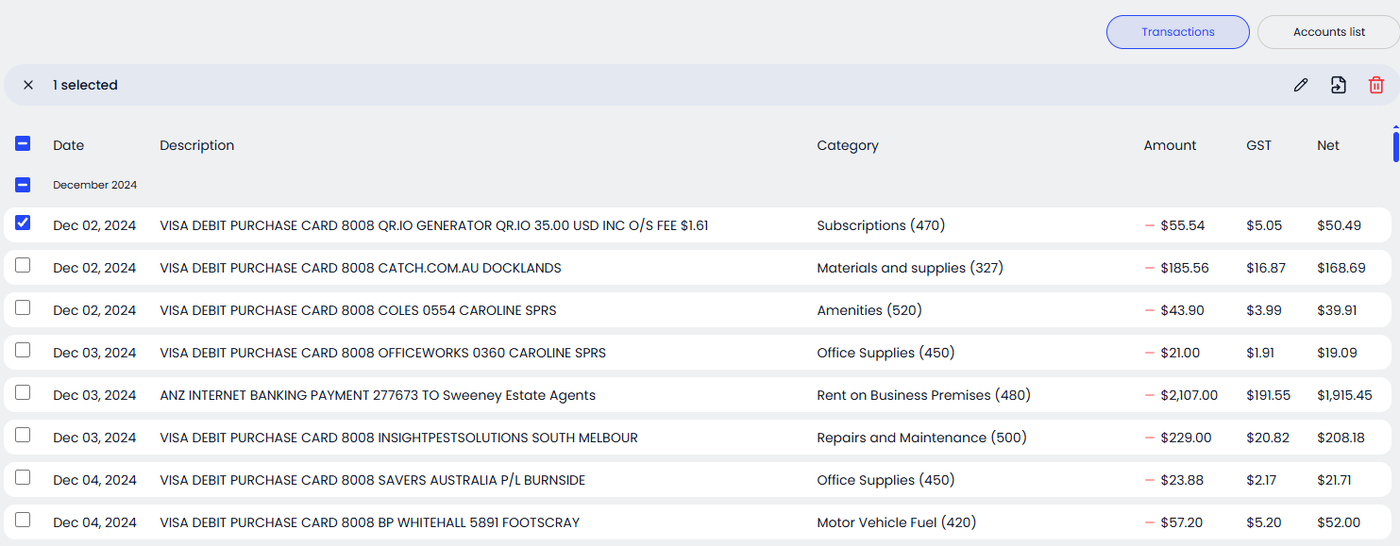
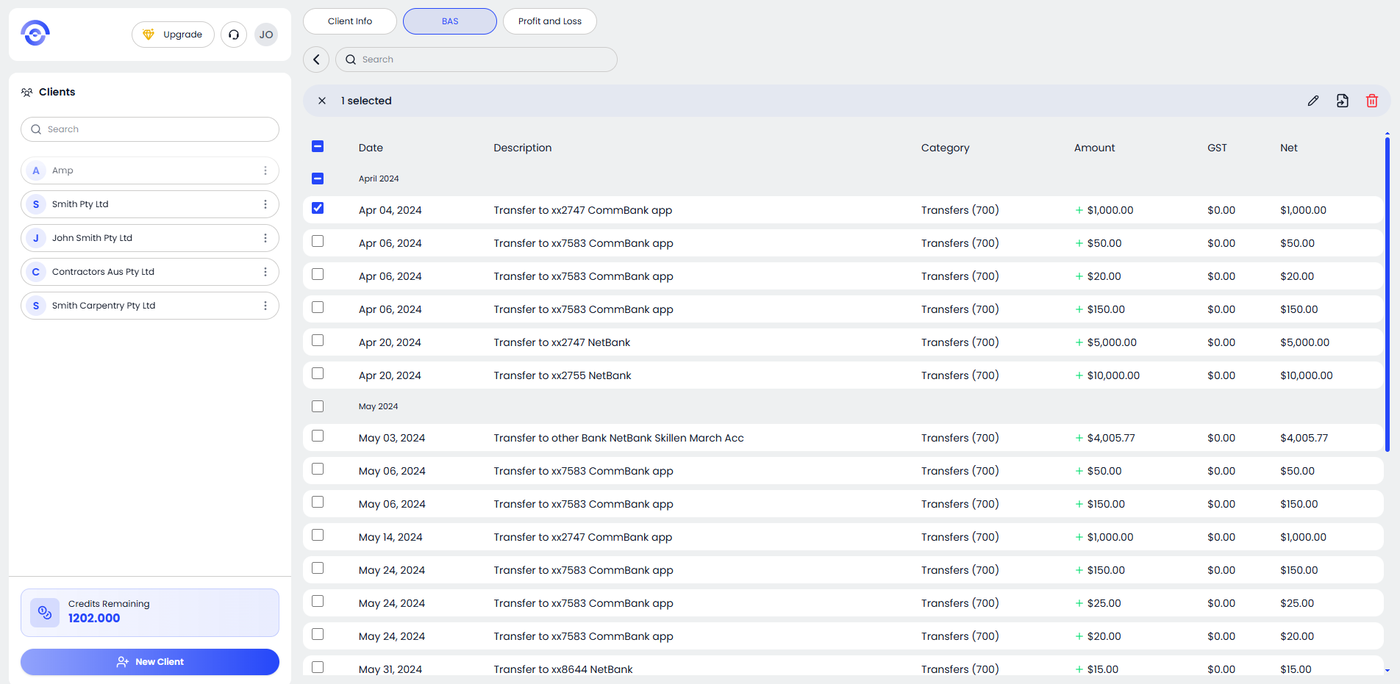
Step 2: Navigate the Audit Trail
Scroll down to the Audit Trail to see the granular data behind the summary. This section lists every individual transaction, its assigned category, and its GST treatment. This is your primary workspace for quality control.
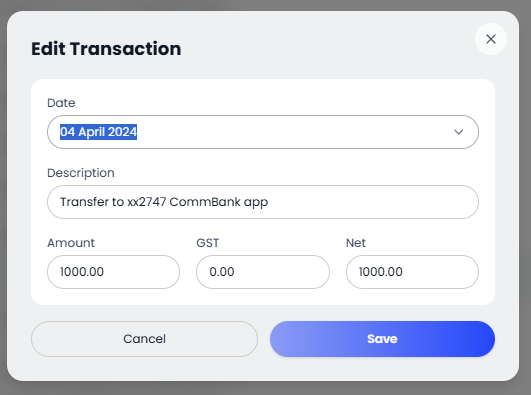
Step 3: Editing Existing Transactions
If you notice a transaction that the AI has categorized incorrectly or if the GST split needs adjustment:
Locate the specific transaction in the Audit Trail.
Click the Edit Icon (represented by a pencil) on the right-hand side of the row.
Modify the Description, Category, or GST Amount in the pop-up window.
Save your changes to see the Summary of Amounts update in real-time.
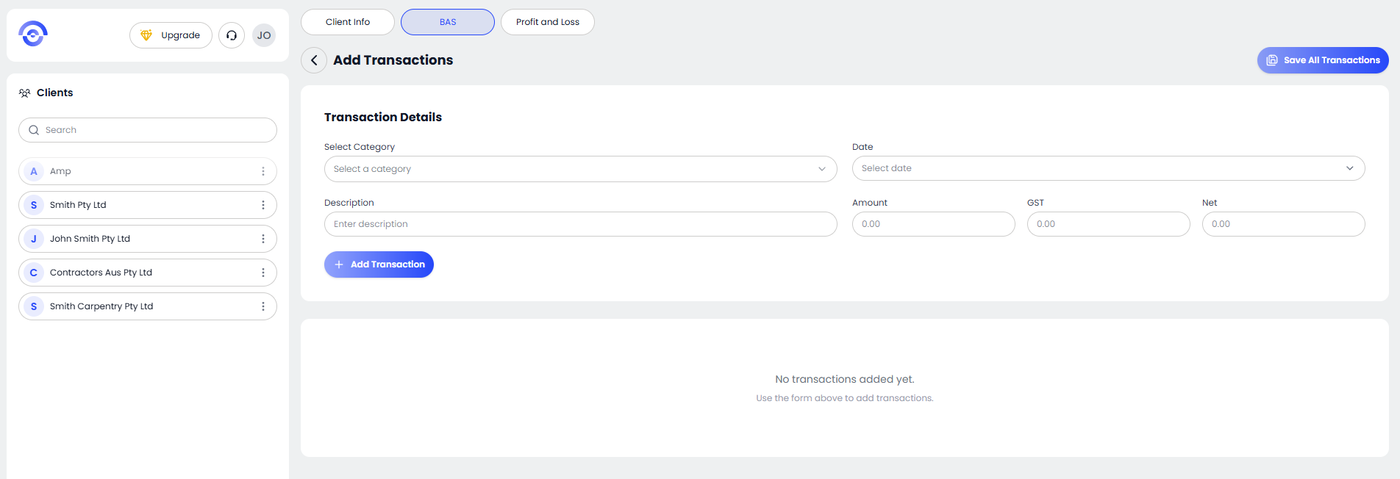
Step 4: Adding New Transactions
Accounting isn't always digital. If you have out-of-pocket cash expenses or manual adjustments that weren't in your bank CSV:
Click the + Add Transaction button located at the top of the Audit Trail section.
Enter the Category, Date, Description, Total Amount, and GST Category.
Click Save to append the manual entry to your report.
Step 5: Deleting or Removing Data
To maintain a clean set of books, you can remove duplicate entries or non-business transactions:
Select the Delete Icon (trash can) next to any unwanted line item.
Confirm the deletion to permanently remove it from this BAS period.